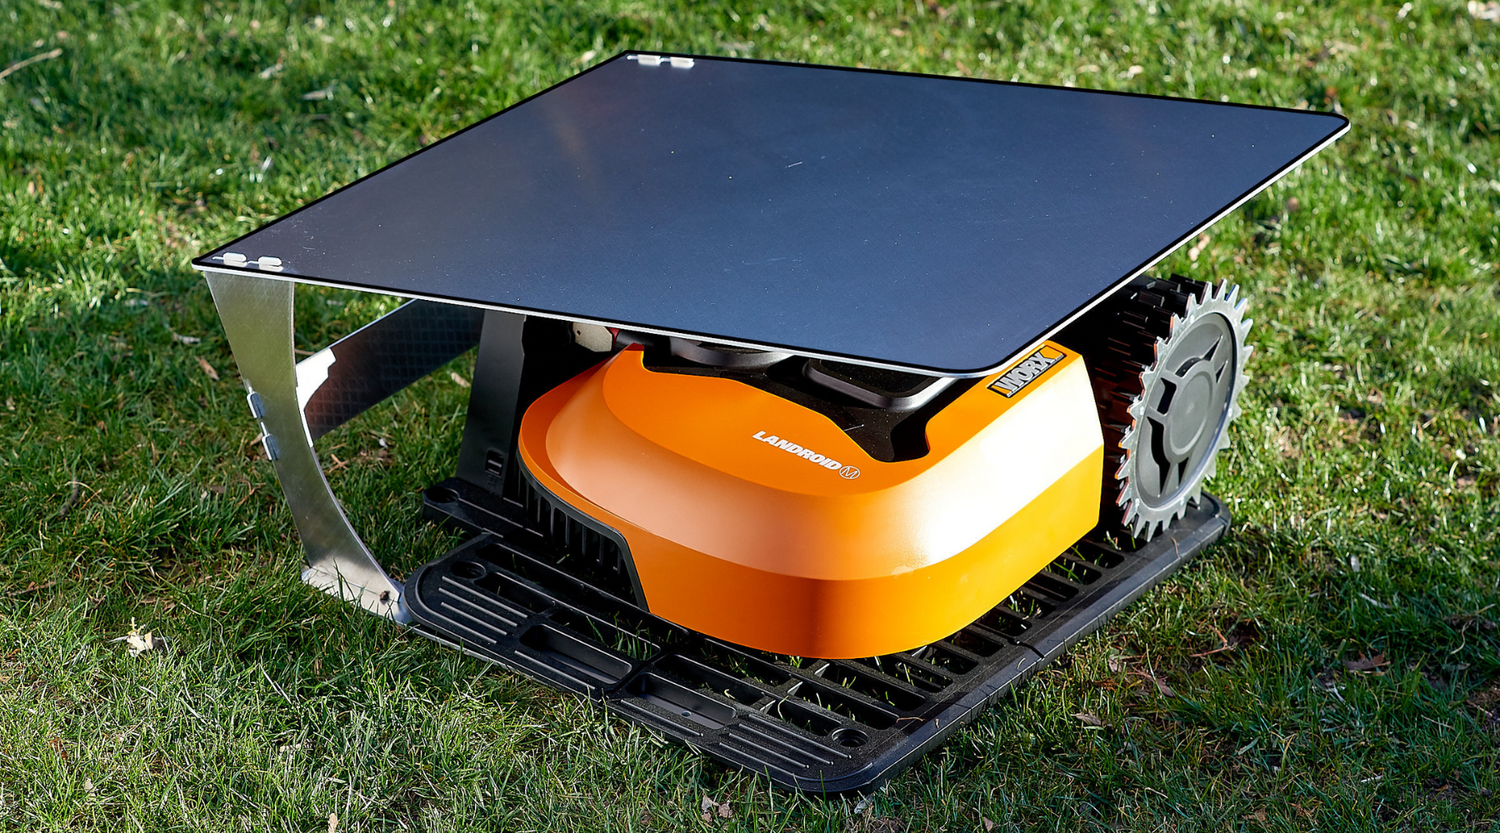
Step 1: Preparation
Before you start, make sure you have all the tools and materials you need on hand. These include the robotic lawnmower, charging station, boundary wire, cable holders and a hammer.
Step 2: Choosing a location for the charging station
Place the charging station in an easily accessible location, preferably near a power outlet. Make sure the station is on level ground and protected from direct sunlight and rain.
Step 3: Laying the boundary wire
The boundary wire defines the mowing area of your robot. Start at the charging station and lay the wire along the edges of the lawn. Use the supplied cable holders to secure the wire every 50-70 cm. Make sure the wire is taut and flat on the ground.
Step 4: Test run and adjustments
Connect the cables to the charging station and fully charge the robotic lawnmower. Perform a test run to ensure that the robot mows correctly within the set boundaries. Adjust the boundary wire if necessary.
Conclusion
With these step-by-step instructions, installing your robotic lawnmower should be a breeze. A correctly installed robotic lawnmower will ensure a well-maintained lawn and save you a lot of time and effort.


Leave a comment
All comments are moderated before being published.
This site is protected by hCaptcha and the hCaptcha Privacy Policy and Terms of Service apply.